Go through the steps to recover formatted, deleted, lost & corrupted virtual data from internal and external storage devices.
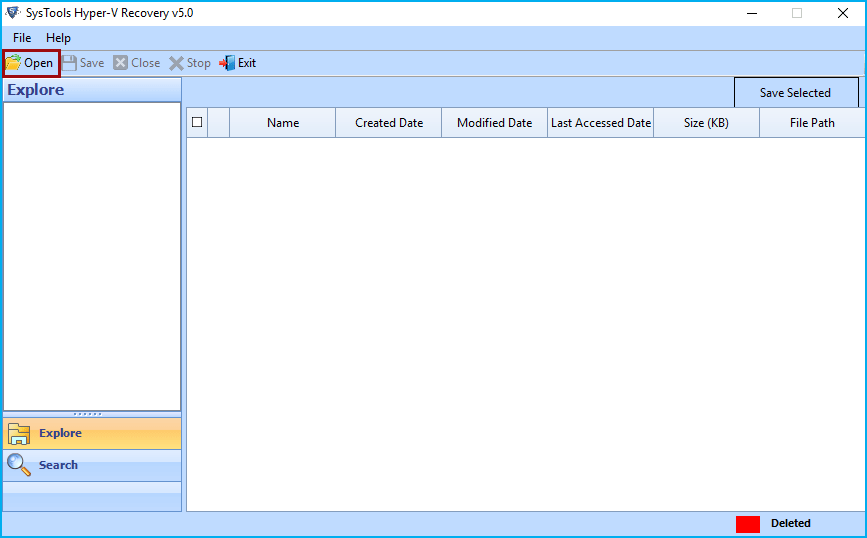
Launch Hyper-V Recovery software, Home window will appear like this, just hit on the Open button from menu bar.
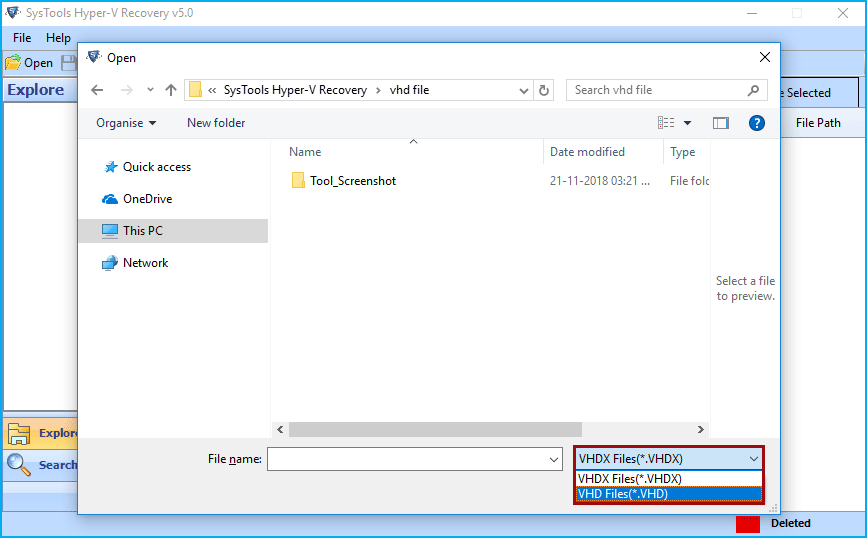
Software will give option to choose either VHDX or VHD file. Just choose one and continue to next.
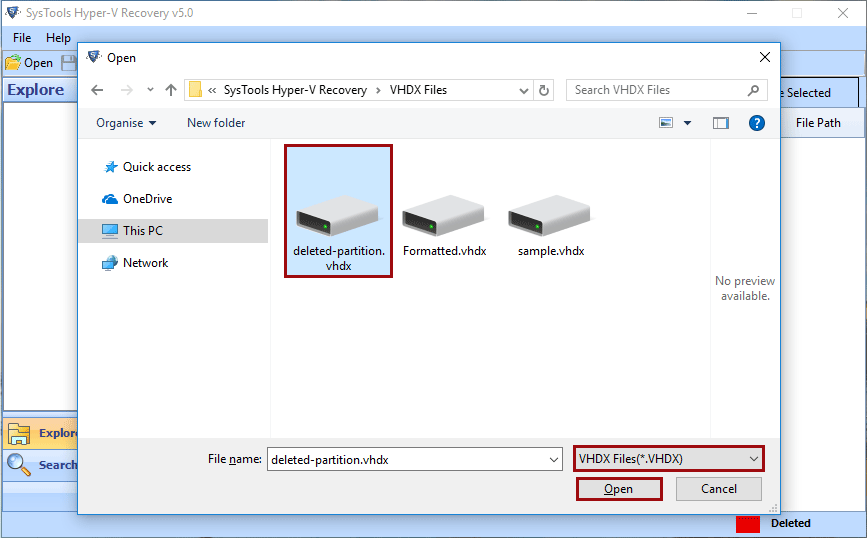
After that choosing VHDX from list, then select the .vhdx file and click on Open button.
OR
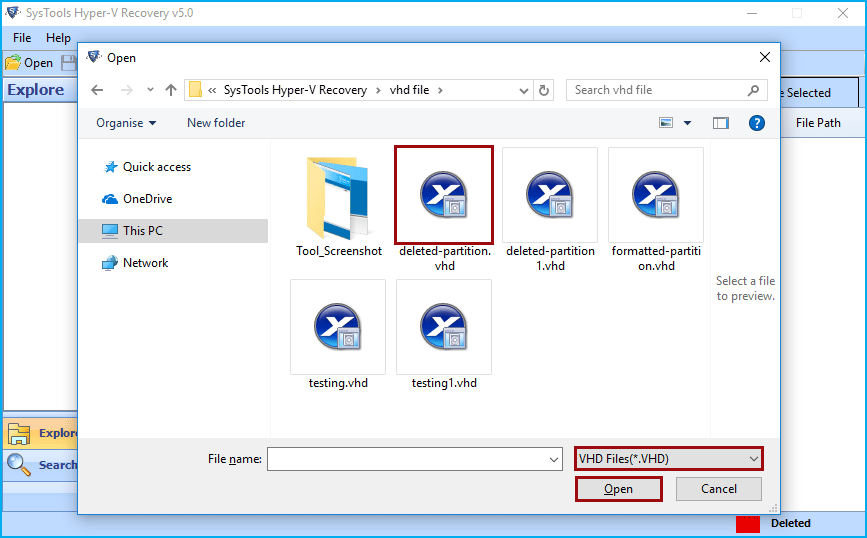
After that choosing VHD from list, Now choose the .vhd file and click on Open button.
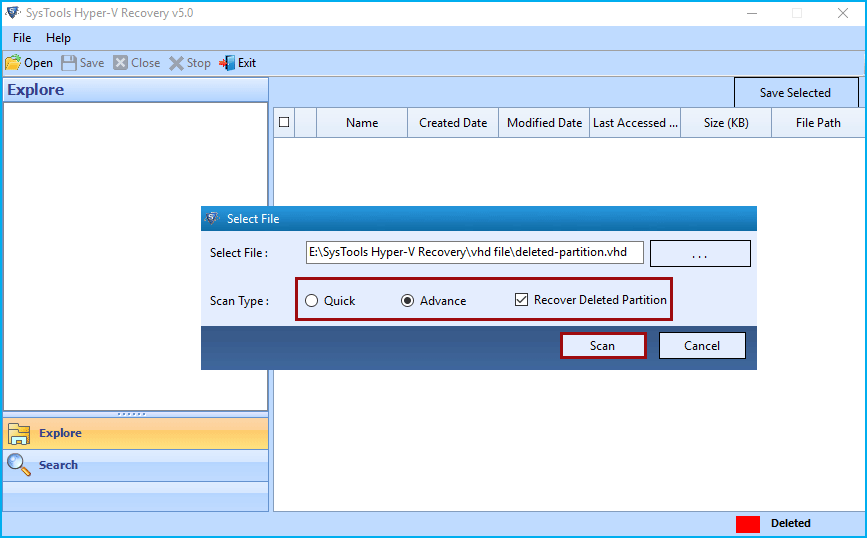
Here the software will provide three scanning options, select required one and click on Scan button.
Advance: - If the .vhd or .vhdx file is corrupted then choose this option.
Recover Deleted Partition: - Check this option for deleted partition recovery from .vhd or .vhdx file.
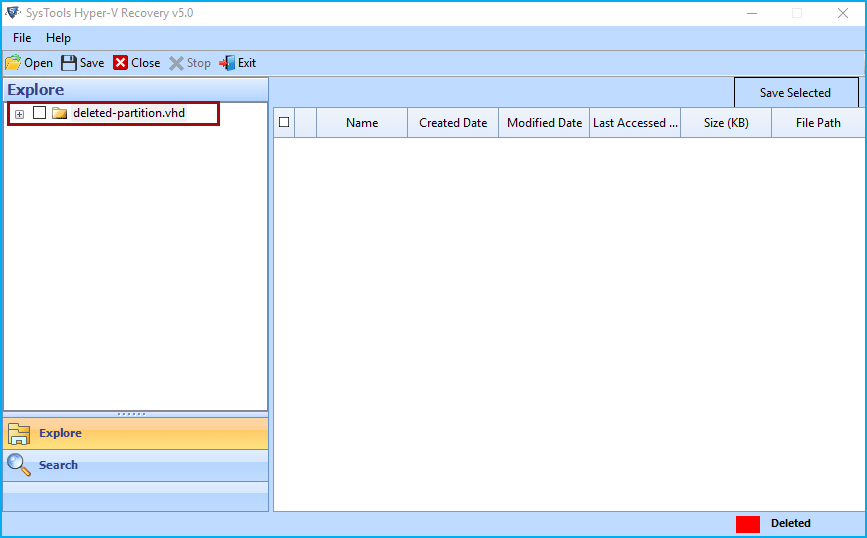
The Tool will list the root folder in the tool explore panel. Simply explore the root folder.
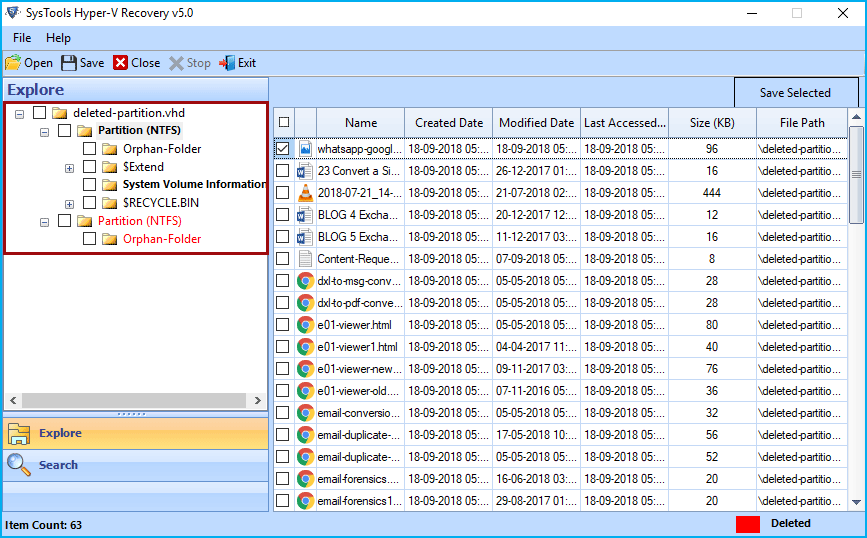
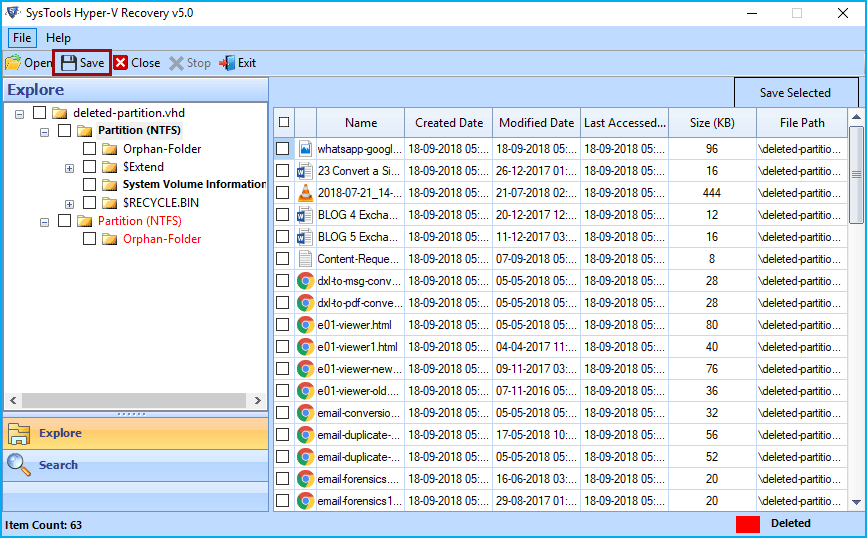
Now view entire restored folders and choose the required one and view entire data into right-side. of application Window. The deleted partition will be highlighted in red colour.
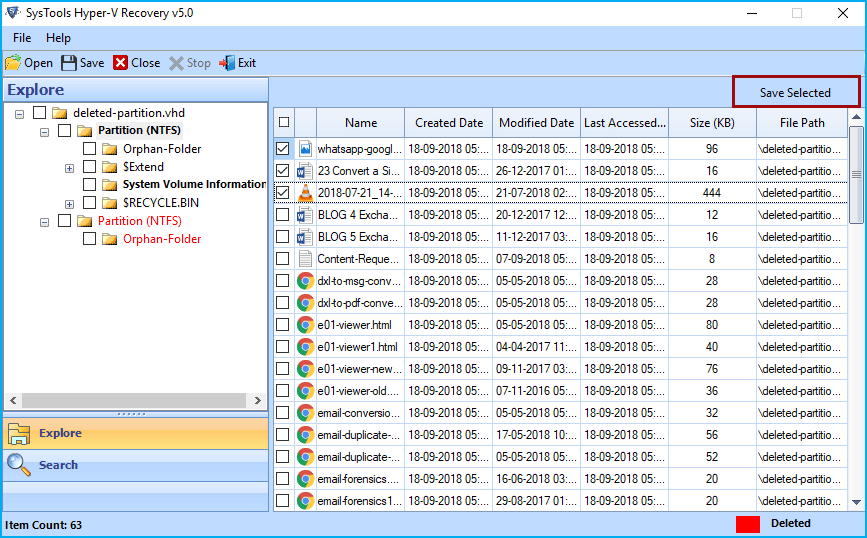
The tool gives two option to save recovered data either Save selected data or Save complete recovered data.
For selected data: - select the required file from right-side of tool panel and click on Save Selected button as highlighted.
For Complete Data: - Choose the folders from Explore Panel of utility and click on the Save button from menu bar as highlighted.
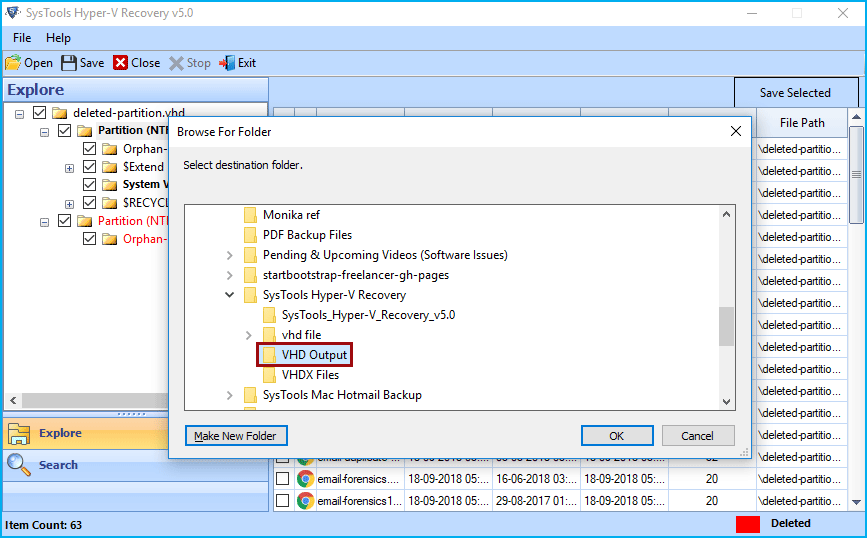
Now Browse the location to save resultant file. Users can either create new folder or choose an existing folder to save recovered data. After selecting folder click on OK button.
Free Download Download